Bagel Recipe: How to Make Perfect New York-Style Bagels at Home
If you’ve ever bitten into a warm, chewy New York-style bagel, you know there’s nothing quite like it. Golden on the outside, soft and chewy on the inside, bagels are a breakfast classic loved around the world. The good news? You don’t need to travel to New York to enjoy them—you can make the perfect bagel recipe right in your own kitchen.
This homemade bagel recipe walks you through every step, from mixing the dough and shaping the rings to boiling and baking for that authentic texture. Whether you’re craving a plain bagel with cream cheese, a sesame-topped favorite, or a flavorful everything bagel, this guide will help you create bakery-quality results at home.
Making bagels from scratch might sound intimidating, but with the right ingredients, a few simple techniques, and a little patience, you’ll soon be pulling fresh, chewy bagels out of your oven. Let’s dive in and discover how to master this classic bread that has been a staple of New York bakeries for generations.
Why You’ll Love This Bagel Recipe
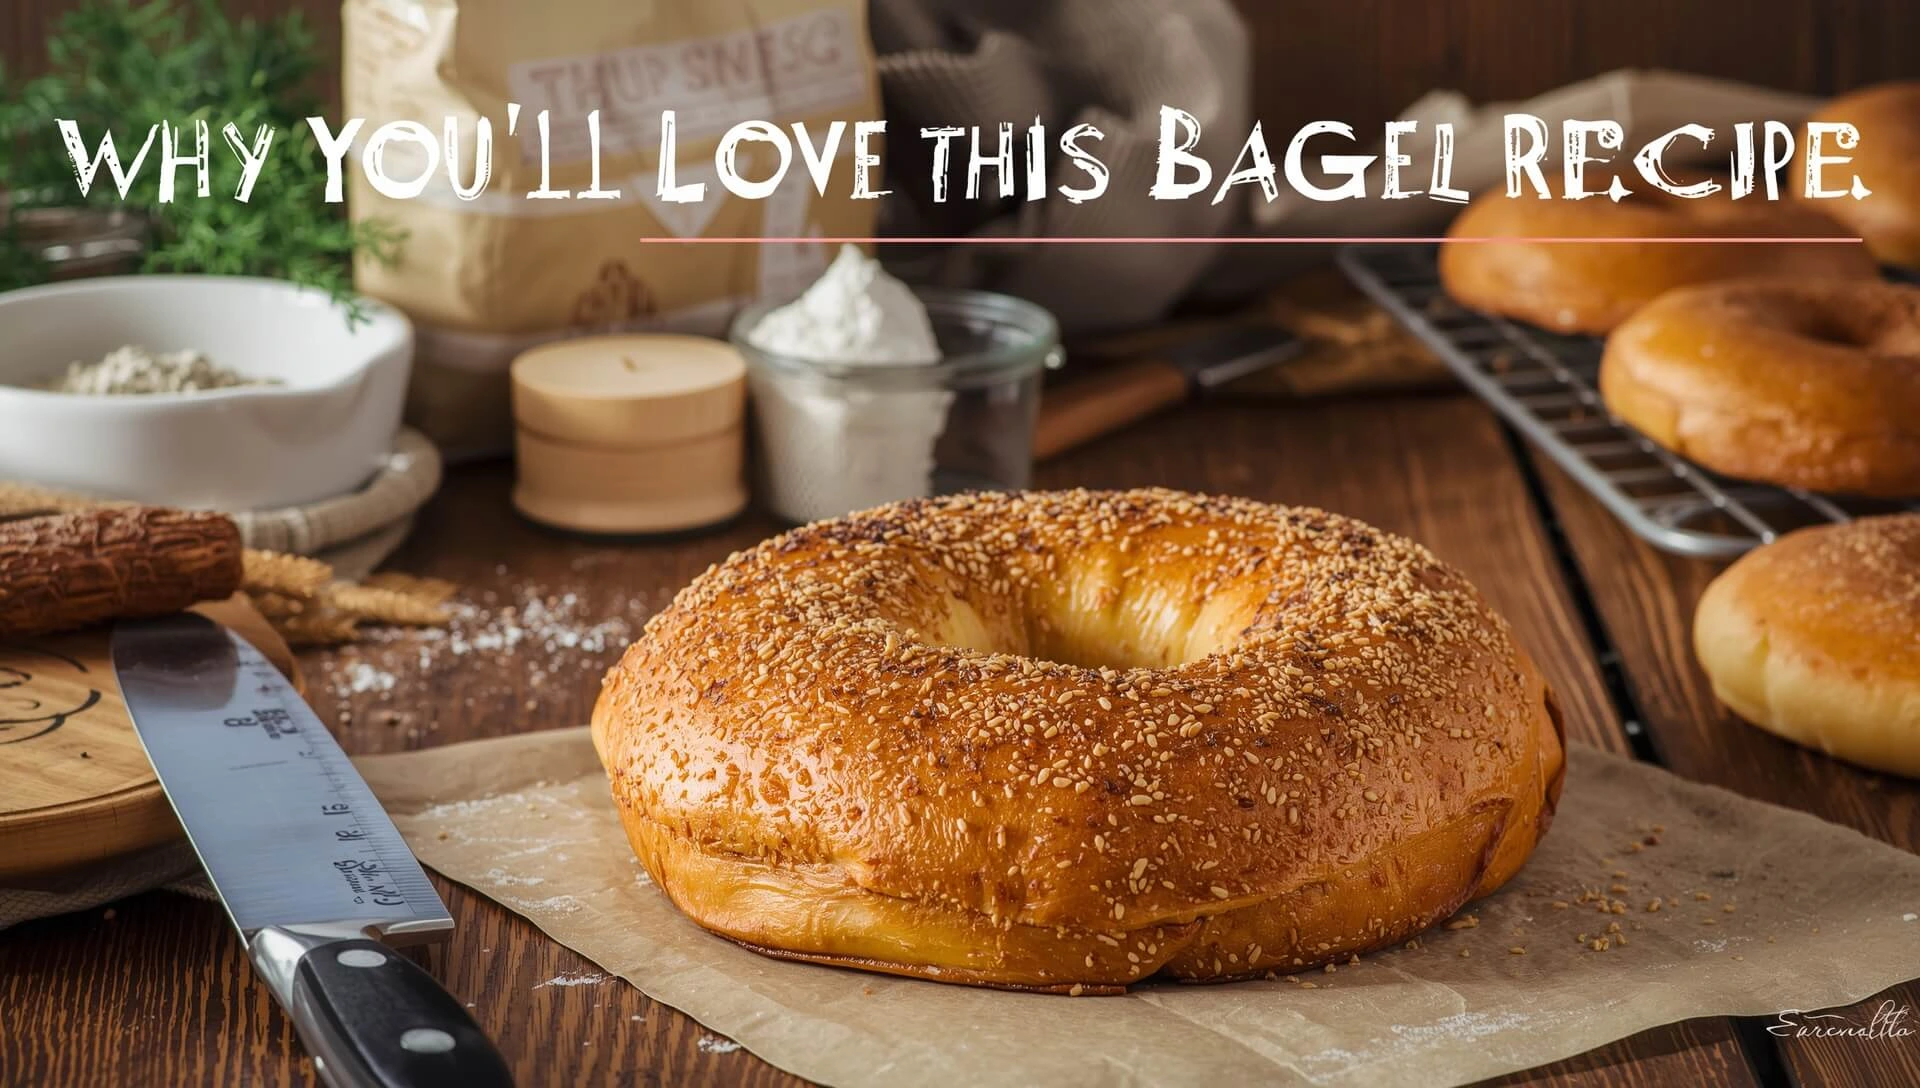
Enjoy freshly baked bagels with a perfect chewy interior and crisp golden crust
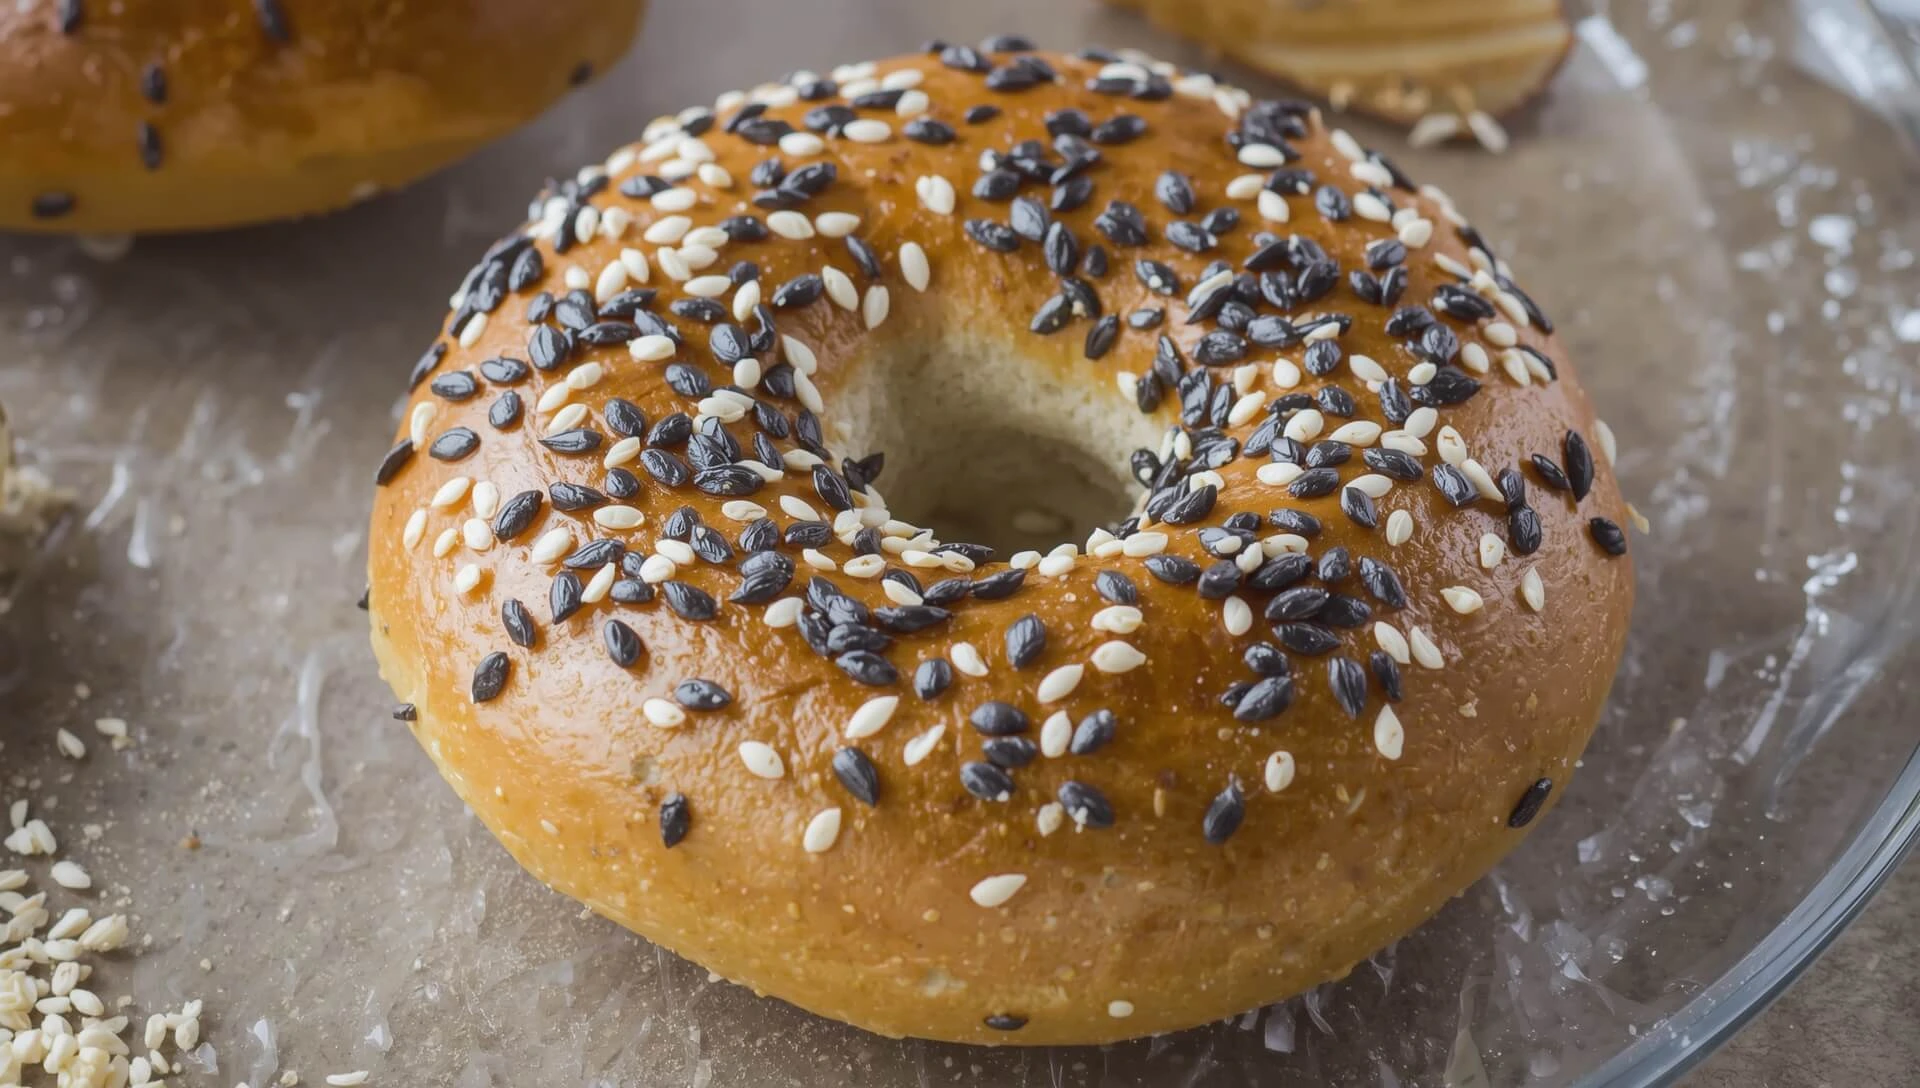
There’s something special about biting into a freshly baked bagel—warm, golden, and perfectly chewy. This homemade bagel recipe gives you that classic authentic New York bagel experience right in your own kitchen. Unlike store-bought bagels, which can sometimes be dry or lack texture, these are soft and chewy on the inside, with a beautifully crisp crust on the outside.
Making chewy bagels at home also gives you full control over flavor and toppings. Whether you love sesame seeds, poppy seeds, everything bagel seasoning, or a sweet cinnamon raisin twist, you can easily customize each batch. Plus, the recipe is designed for beginners and experienced bakers alike, with step-by-step instructions to guide you through the process of mixing, shaping, boiling, and baking.
Another reason to love this recipe is the freshness—your bagels will be straight from the oven, with no preservatives or artificial ingredients. The first bite of a warm, crisp bagel topped with cream cheese or butter will quickly remind you why making bagels from scratch is worth it.
If you’re new to bread baking, don’t worry—bagels are surprisingly fun to make, and the satisfaction of pulling out a tray of golden, bakery-quality bagels is unmatched.
📌 Want to improve your bread-making skills? Learn more about homemade bread techniques in our Ultimate Bread Baking Guide.
Ingredients for New York-Style Bagels
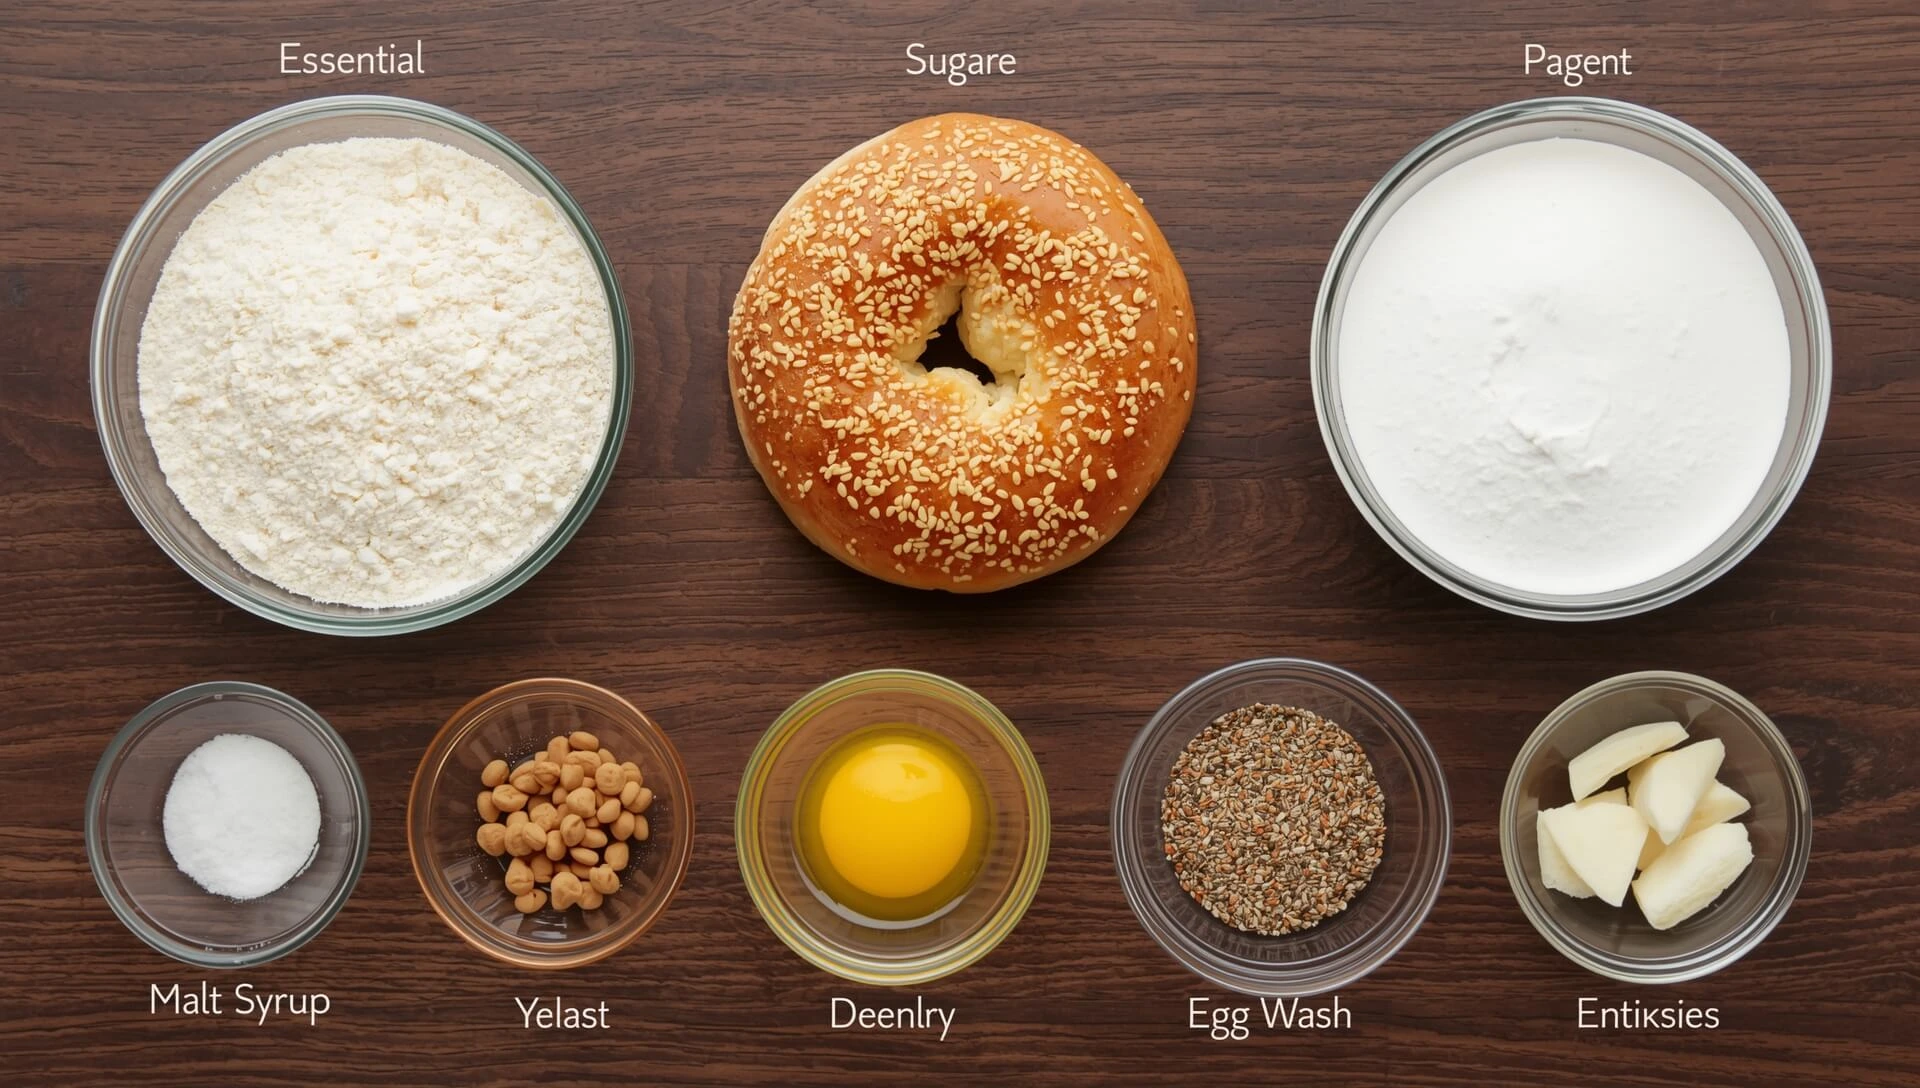
Essential ingredients and toppings for authentic homemade bagels
Essential Ingredients
Every great bagel starts with a handful of simple pantry staples. While the ingredient list is short, each one plays a crucial role in achieving that authentic homemade bagel recipe texture—chewy inside, crisp outside, and golden perfection after baking. Let’s break down the essentials:
1. Bread Flour
Bread flour is the foundation of bagels. With a higher protein content than all-purpose flour, it develops more gluten, which is what gives bagels their signature chewy texture. Without bread flour, your bagels would end up too soft or cake-like rather than delightfully dense and chewy.
2. Yeast
Yeast is the magic ingredient that makes your dough rise. It not only creates air pockets for that soft interior but also contributes to the flavor as it ferments. You can use either active dry yeast or instant yeast, but remember—giving the dough enough time to rest and rise is key to the classic authentic bagel recipe flavor.
3. Salt
Salt balances the sweetness of the dough and enhances overall flavor. Beyond taste, it also helps regulate yeast activity so your bagels don’t rise too quickly. Think of salt as the silent partner that keeps everything in balance.
4. Sugar
A touch of sugar feeds the yeast, helping your dough rise properly. It also gives the crust that subtle golden-brown color during baking. For traditional New York–style bagels, sugar or even malt syrup is often added to the boiling water for an extra hint of sweetness and shine.
5. Water
Water binds everything together into a smooth dough. The hydration level is crucial—too much water makes sticky dough that’s hard to shape, while too little results in dry, stiff bagels. Using the right ratio ensures a pliable dough that’s easy to roll into rings.
Optional Ingredients
While the essential ingredients create the base of your homemade bagel recipe, it’s the optional add-ins and toppings that take your bagels from simple to spectacular. These extras allow you to customize flavor, texture, and appearance—giving you bakery-quality results at home.
1. Toppings (Sesame, Poppy, Everything Seasoning)
Toppings are the signature flair of New York–style bagels.
Sesame seeds add a nutty crunch.
Poppy seeds bring a subtle earthy flavor.
Everything seasoning (a mix of sesame, poppy, garlic, onion, and salt) has become a crowd favorite for its bold, savory punch.
Sprinkling these toppings over your bagels just before baking adds visual appeal and irresistible flavor.
2. Malt Syrup or Honey (for Boiling)
Traditionally, bagels are boiled in water enriched with barley malt syrup. This step not only enhances flavor but also contributes to that characteristic golden, shiny crust. If you don’t have malt syrup, honey works as a natural substitute, lending sweetness and helping with browning. This small tweak makes a big difference in achieving an authentic bagel recipe.
3. Egg Wash (for Shiny Crust)
Brushing your bagels with an egg wash before baking locks in toppings and creates a glossy, bakery-style finish. While it’s optional, it makes your bagels look polished and professional, as if they came straight from a New York deli.
💡 Pro Tip: Want to elevate your bagels even more? Pair them with a homemade spread! 👉 Check our homemade cream cheese variations for perfect bagel spreads.
Step-by-Step: How to Make Bagels at Home
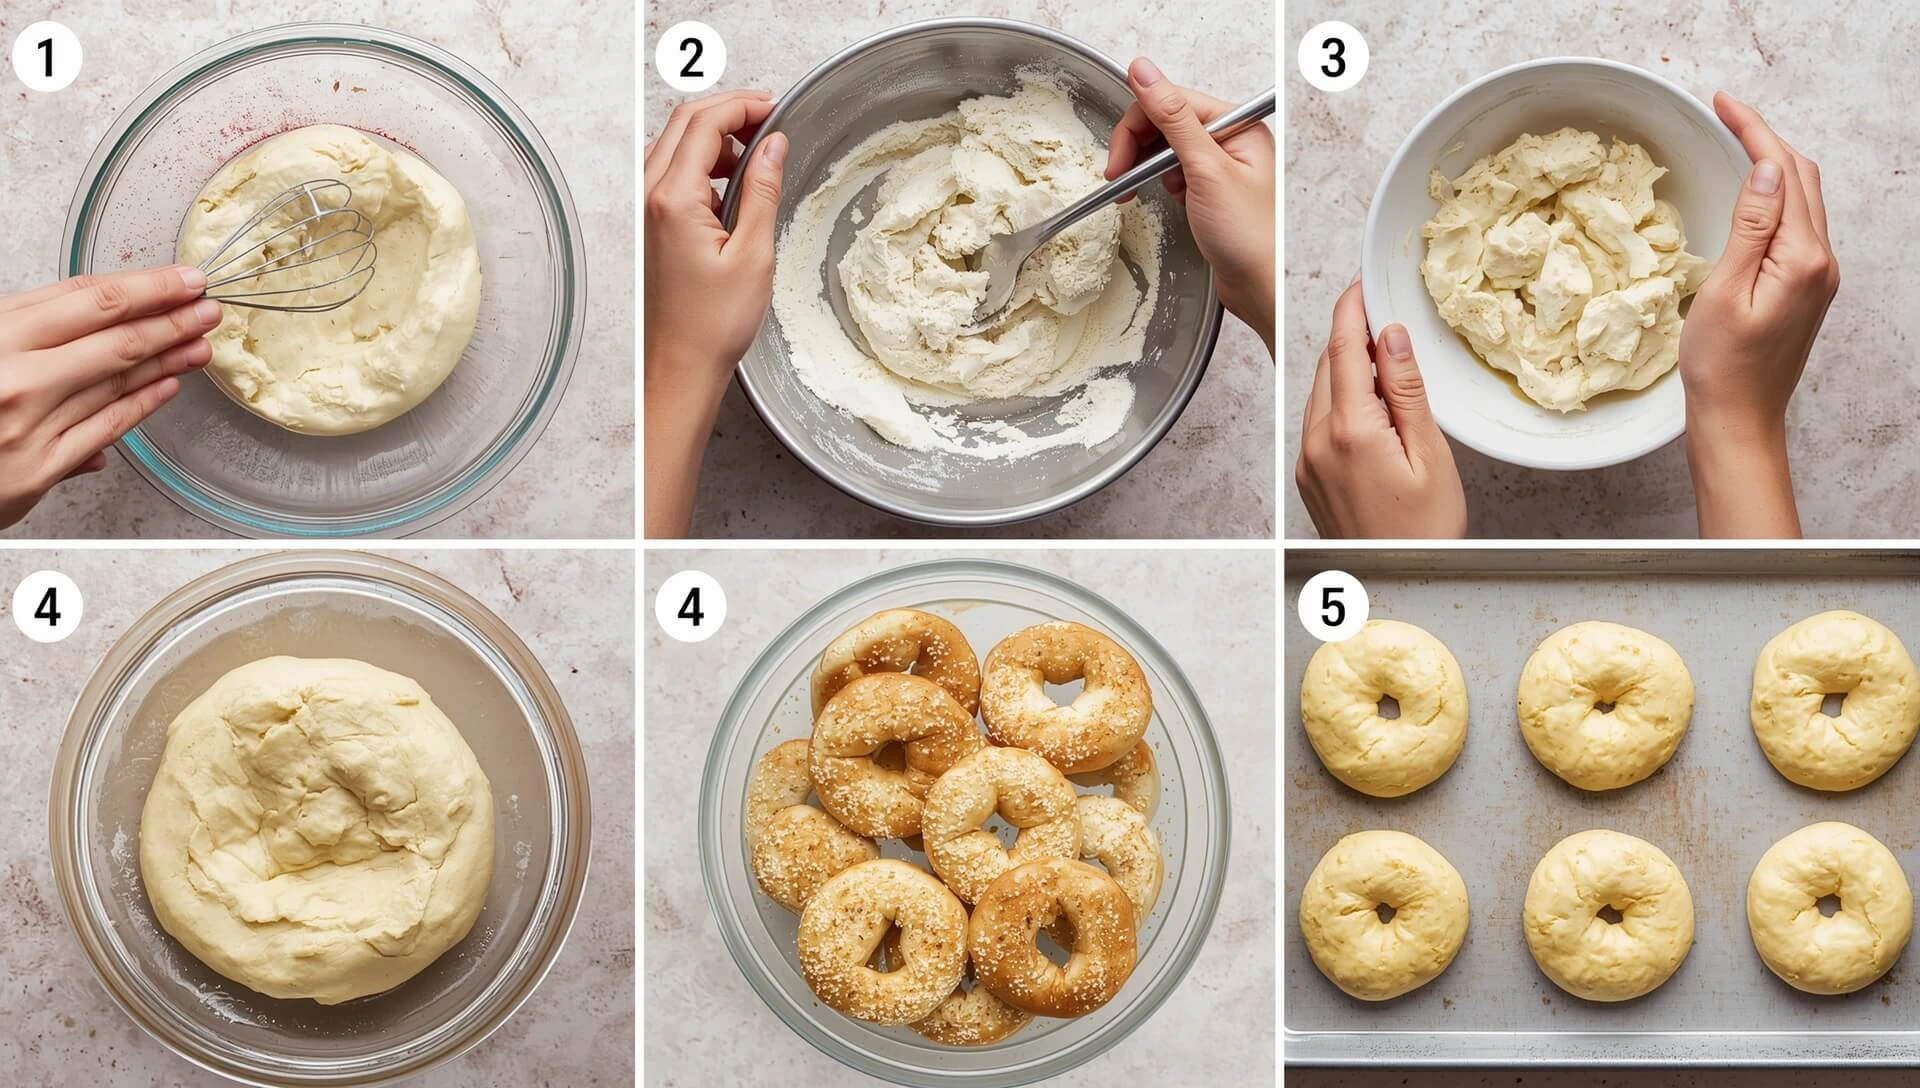
Visual guide of making bagels from dough to golden bake
Make the Dough
Every great bagel begins with the dough, and this step sets the foundation for that signature chewy bagel texture. Making bagel dough is a little different from other breads because it’s stiffer and less hydrated, which is what gives bagels their dense, chewy bite.
Step 1: Combine the Dry Ingredients
In a large mixing bowl, add:
Bread flour (for structure and chewiness)
Instant yeast (for rise)
Salt (for flavor and dough strength)
Sugar (for a hint of sweetness and to feed the yeast)
Give the dry ingredients a quick whisk to evenly distribute everything before adding the liquid.
Step 2: Add the Water
Slowly pour in lukewarm water (around 100–105°F / 37–40°C). The warm water activates the yeast, helping the dough come together quickly.
Step 3: Mix Into a Rough Dough
Using a wooden spoon, dough whisk, or the paddle attachment of a stand mixer, mix until the dough forms a rough, shaggy mass. At this stage, it won’t look smooth—that comes later during kneading. The key is to make sure no dry flour remains at the bottom of the bowl.
💡 Pro Tip: If the dough feels too dry, add 1 tablespoon of water at a time. If it’s too sticky, sprinkle in a little more bread flour. Bagel dough should be firm and slightly tacky, not soft like sandwich bread dough.
Knead and Proof the Dough
Once the ingredients are combined into a rough dough, the next step is kneading. This process develops gluten, the protein network that gives bagels their signature chewy bite and helps them hold their round shape.
Step 1: Knead the Dough
By hand: Turn the dough out onto a lightly floured surface and knead for 10–12 minutes. Use the push, fold, and turn method—press the dough away from you with the heel of your hand, fold it back, rotate, and repeat.
With a stand mixer: Use the dough hook attachment on low speed for 8–10 minutes. The dough should start out stiff but gradually become smooth, elastic, and slightly tacky.
💡 Pro Tip: Bagel dough is stiffer than sandwich bread dough. If kneading by hand feels tough at first, don’t worry—it’s supposed to resist. That resistance builds structure for the perfect chewy bagel.
Step 2: First Proof (Rise)
Place the kneaded dough in a lightly oiled bowl, turning once to coat it with oil so it doesn’t dry out. Cover with a clean kitchen towel or plastic wrap.
Let the dough rest at room temperature for 1–1.5 hours, or until it looks slightly puffed. Unlike other breads, you don’t want it to double in size; bagels need just enough rise to relax the gluten without becoming airy.
💡 Proofing Tip: For the best texture, you can also do a cold fermentation: place the covered dough in the refrigerator overnight (8–12 hours). This slow proofing develops deeper flavor, very similar to traditional authentic New York bagels.
Shape the Bagels
Once your dough has proofed and relaxed, it’s time to shape it into the classic bagel form. This step may seem simple, but how you shape the dough will directly affect how your homemade bagels bake and their final texture.
Step 1: Divide the Dough
Turn the proofed dough onto a lightly floured surface. Use a bench scraper or knife to divide it into 8 equal portions (or more if you prefer smaller bagels). Each portion should weigh about 100–110 grams for consistency.
💡 Pro Tip: Weighing your dough pieces with a kitchen scale ensures evenly sized bagels that bake at the same rate.
Step 2: Pre-Shape into Balls
Roll each portion into a smooth, tight ball by cupping your hand over the dough and rolling it in small circles on the counter. This pre-shaping step helps build surface tension, keeping bagels round as they bake.
Step 3: Shape into Rings
There are two classic methods for shaping bagels:
Poke-and-stretch method: Flatten each dough ball slightly, poke a hole in the center with your thumb, and gently stretch it into a ring about 2 inches wide.
Rope method: Roll the dough ball into a rope about 6–8 inches long. Wrap it around your hand, overlap the ends, and roll the seam on the counter to seal.
Both methods create authentic bagel shapes, but the poke-and-stretch is easier for beginners.
💡 Shaping Tip: Bagels will shrink slightly when boiled and baked, so make the hole a little larger than you think.
Boil the Bagels (The Water Bath is Key!)
Before baking, every authentic bagel takes a quick dip in a boiling water bath. This step is what creates that golden crust and chewy interior that sets homemade bagels apart from ordinary bread rolls.
Step 1: Prepare the Water Bath
Bring a large pot of water to a gentle boil (not a rolling boil, which can tear the dough).
Stir in 1–2 tablespoons of malt syrup (or honey) to give the bagels a subtle sweetness and enhance browning. If you don’t have malt syrup, honey or brown sugar are good alternatives.
Optional: Add 1 teaspoon of baking soda for an extra-crisp, shiny crust.
Step 2: Boil the Bagels
Using a slotted spoon, gently lower 2–3 bagels into the water at a time, making sure not to overcrowd the pot.
Boil each bagel for 30–60 seconds per side. The longer they boil, the chewier the final texture will be.
💡 Pro Tip: For softer bagels, boil closer to 30 seconds. For extra chew and a thicker crust, aim for the full 60 seconds.
Step 3: Remove and Drain
Carefully lift the bagels from the water and place them on a parchment-lined baking sheet. Allow them to sit for a minute to let excess water drip off. This is the perfect time to sprinkle on toppings like sesame seeds, poppy seeds, or everything seasoning before baking.
Bake Until Golden
Once your bagels have been boiled, it’s time to bake them to achieve that iconic New York-style crust. This step locks in flavor, sets the chewy interior, and creates the golden shine that makes homemade bagels irresistible.
Step 1: Prepare for Baking
Arrange the boiled bagels on a parchment-lined baking sheet. Parchment helps prevent sticking and allows for even browning.
If you’re adding toppings, sprinkle them on while the bagels are still slightly wet from the water bath. This ensures they stick firmly during baking.
Step 2: Bake the Bagels
Preheat your oven to 425°F (220°C).
Place the baking sheet in the middle rack of the oven for even heat distribution.
Bake for 20–25 minutes, or until the bagels are a rich golden brown and sound hollow when tapped on the bottom.
💡 Pro Tip: For an extra-crisp crust, rotate the baking sheet halfway through baking to ensure even browning.
Step 3: Cool Before Serving
Once baked, transfer the bagels to a wire rack and let them cool for at least 15 minutes. This prevents the inside from becoming gummy and allows the crust to set properly.
Tips for Perfect Homemade Bagels
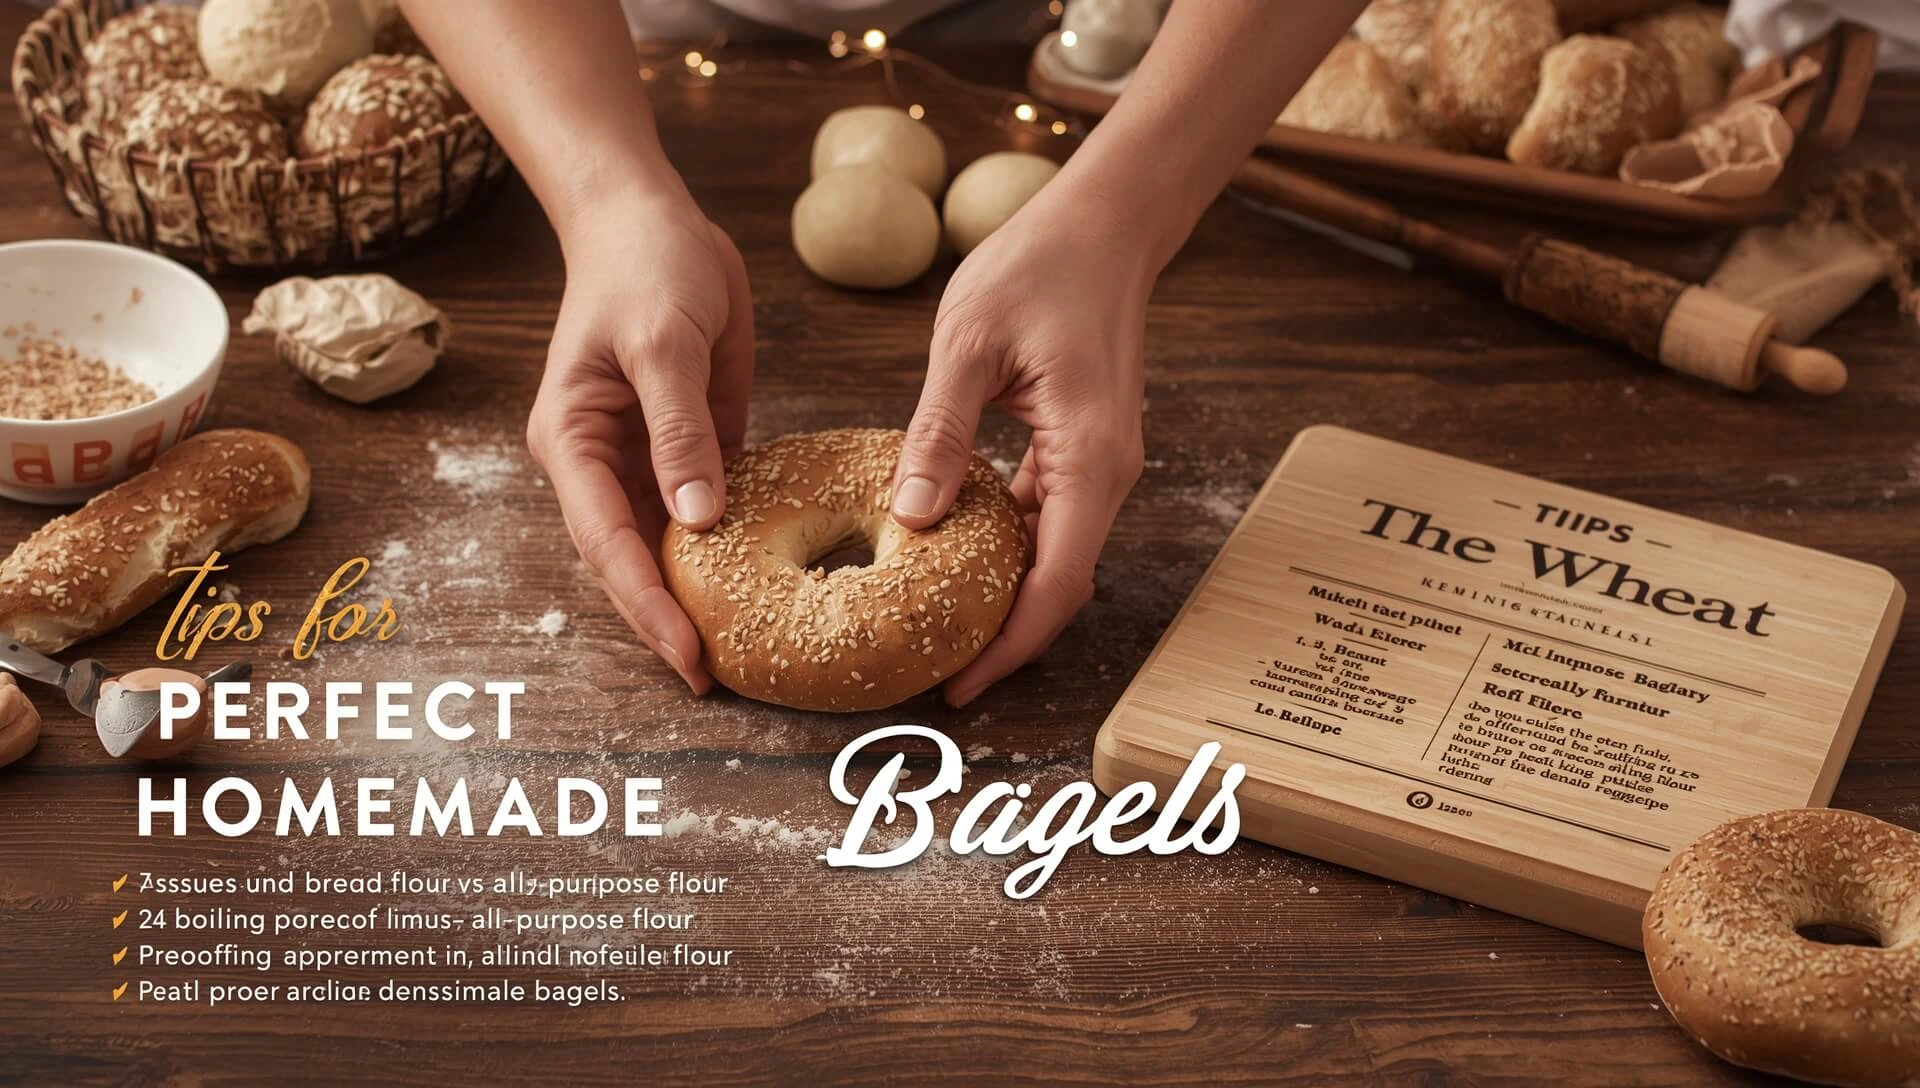
Techniques for chewy, golden homemade bagels
Making homemade bagels that rival New York bakeries isn’t difficult, but a few key tips can make all the difference. From choosing the right flour to proper proofing and shaping, these tips will help you achieve bagels with a perfectly chewy interior and crisp, golden crust.
1. Use Bread Flour vs. All-Purpose Flour
Bread flour has a higher protein content, which develops more gluten. This gluten is what gives bagels their characteristic chewy texture. All-purpose flour can work in a pinch, but your bagels may end up softer and less structured.
💡 Pro Tip: For extra authenticity, use bread flour and consider a small portion of high-gluten flour if available.
2. Boiling the Bagels is Essential
Boiling bagels before baking is what sets them apart from other breads. The water bath gelatinizes the starch on the surface, creating a crisp exterior while keeping the inside dense and chewy. Don’t skip this step, even if you’re pressed for time!
3. Shape Bagels Evenly
Consistent size ensures even cooking. Divide the dough into equal portions and shape the bagels with slightly larger holes than you think, as they shrink during boiling and baking. Properly shaped bagels bake uniformly and look professional.
4. Avoid Dense Bagels with Proper Proofing
Bagels should be proofed just until slightly puffed, not doubled in size. Over-proofing can lead to overly airy interiors, while under-proofing can make bagels dense. For extra flavor, consider a slow, cold fermentation in the refrigerator overnight.
Variations & Toppings
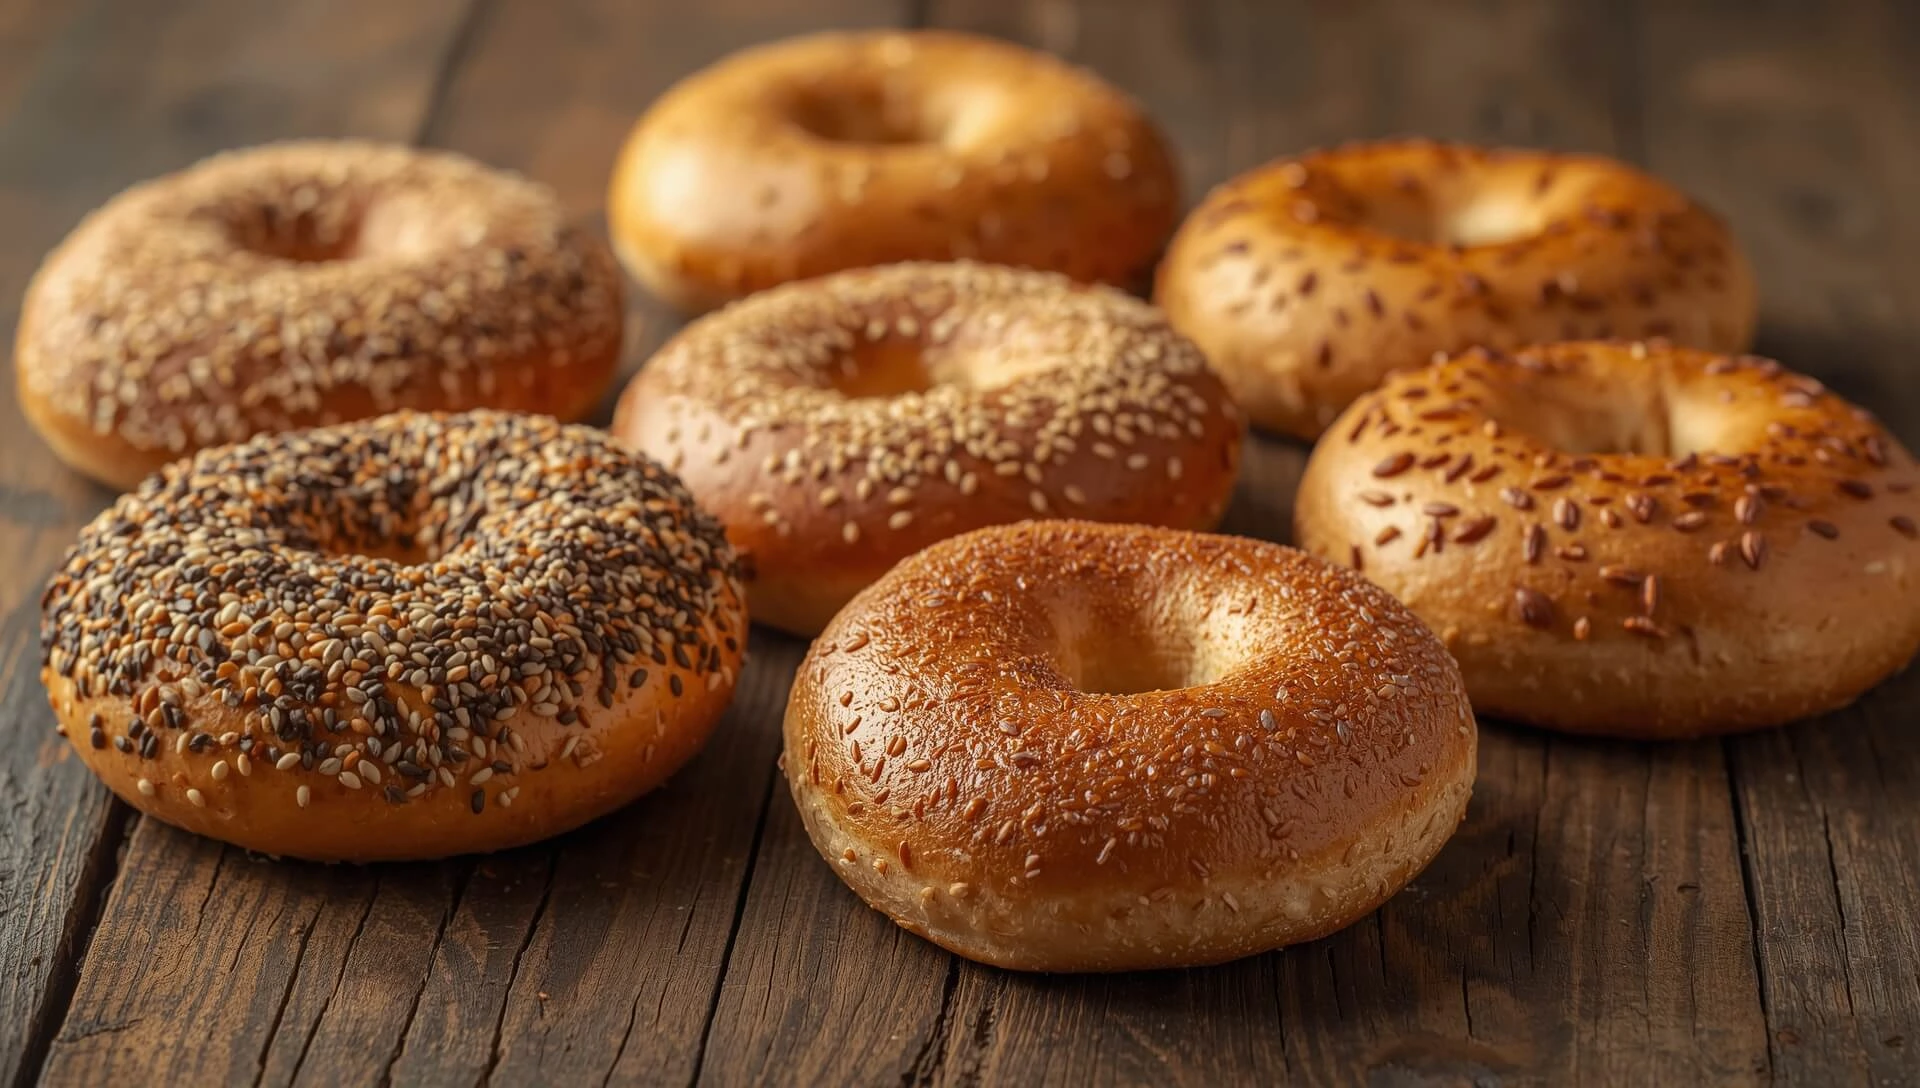
Assorted bagels with different toppings
One of the best things about homemade bagels is how customizable they are. From classic savory toppings to sweet and hearty variations, you can make each batch exactly how you like it. Here are some popular options to inspire your baking:
1. Classic Toppings: Everything, Sesame, Poppy Seed
Everything Bagel: A savory mix of sesame seeds, poppy seeds, dried garlic, onion, and salt. This is a favorite for its bold flavor and texture.
Sesame Bagel: Sprinkled with nutty sesame seeds, perfect with cream cheese or smoked salmon.
Poppy Seed Bagel: Lightly sweet and nutty, these add a delicate crunch to each bite.
These toppings not only enhance flavor but also give your bagels that authentic New York-style appearance.
2. Sweet Variations: Cinnamon Raisin Bagels
Cinnamon raisin bagels are a delicious twist on the classic recipe. Swirling in cinnamon and adding plump raisins creates a slightly sweet, aromatic bagel that pairs beautifully with butter or cream cheese. This variation is perfect for breakfast or brunch.
3. Whole Wheat Bagels
For a heartier option, swap part or all of the bread flour for whole wheat flour. Whole wheat bagels have a nutty flavor and slightly denser texture, making them a healthier alternative while still retaining a chewy interior and crisp crust.
💡 Pro Tip: Mix and match toppings with these variations for endless possibilities—think sesame cinnamon raisin or everything whole wheat!
Serving Suggestions
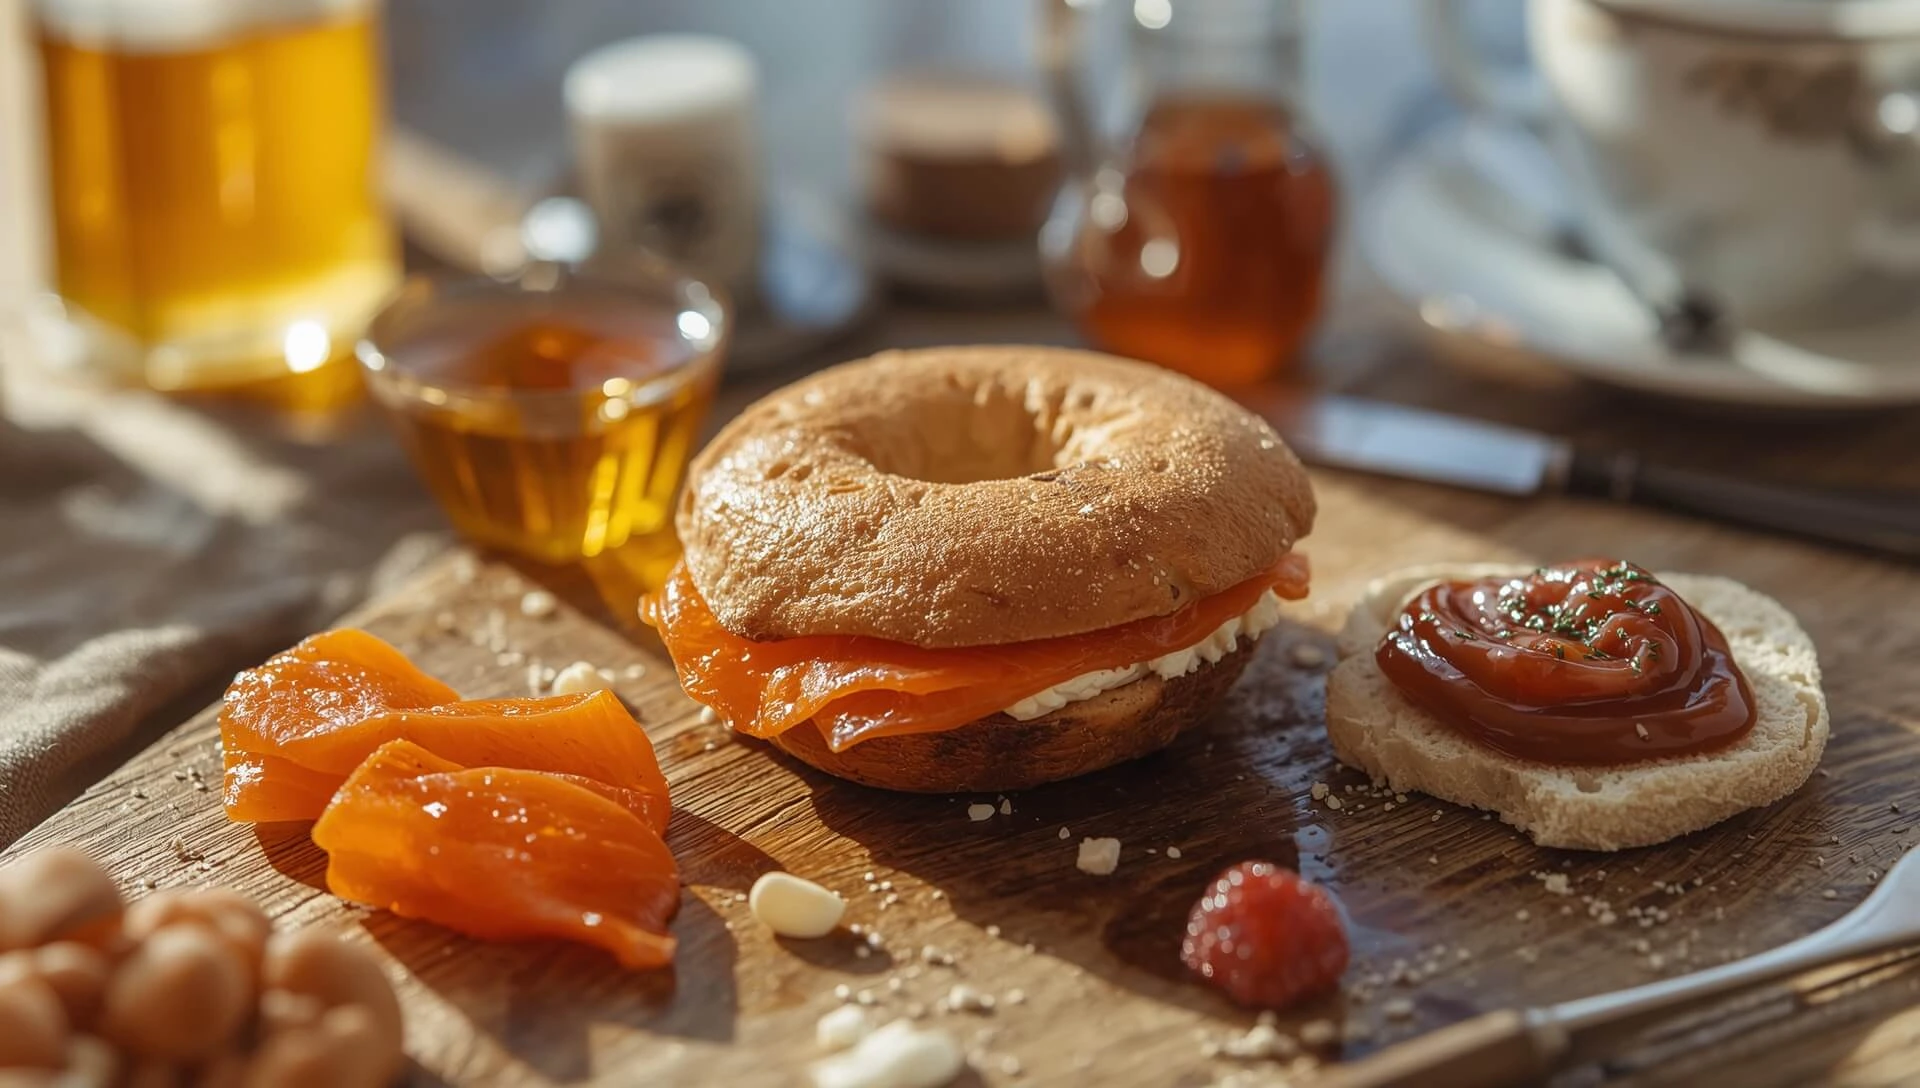
Delicious ways to enjoy homemade bagels
Once your homemade bagels are baked to golden perfection, the fun part begins: enjoying them with delicious toppings and fillings. Bagels are versatile, making them perfect for breakfast, brunch, or even a quick snack. Here are some popular serving ideas:
1. Bagel with Cream Cheese & Lox
The classic New York-style pairing: spread a generous layer of cream cheese and top with thin slices of smoked salmon (lox). Add capers, red onion, and a sprinkle of fresh dill for a restaurant-quality bagel experience at home. This combination balances the bagel’s chewy texture with creamy and savory flavors.
2. Breakfast Bagel Sandwich
Transform your bagel into a hearty breakfast sandwich. Layer scrambled eggs, crispy bacon or sausage, and cheese between a split bagel. Add avocado or tomato slices for freshness. These sandwiches are filling, portable, and perfect for a weekend brunch or quick weekday breakfast.
3. Sweet Toppings (Honey, Jam)
Bagels aren’t just for savory flavors! Spread butter, honey, or your favorite jam over a warm bagel for a simple yet satisfying treat. Cinnamon raisin or whole wheat bagels pair especially well with sweet toppings, making them a delightful option for kids and adults alike.
💡 Pro Tip: Toasting your bagel slightly before adding toppings enhances flavor and texture, giving the crust a light crunch while keeping the inside chewy.
FAQs About Bagel Recipes
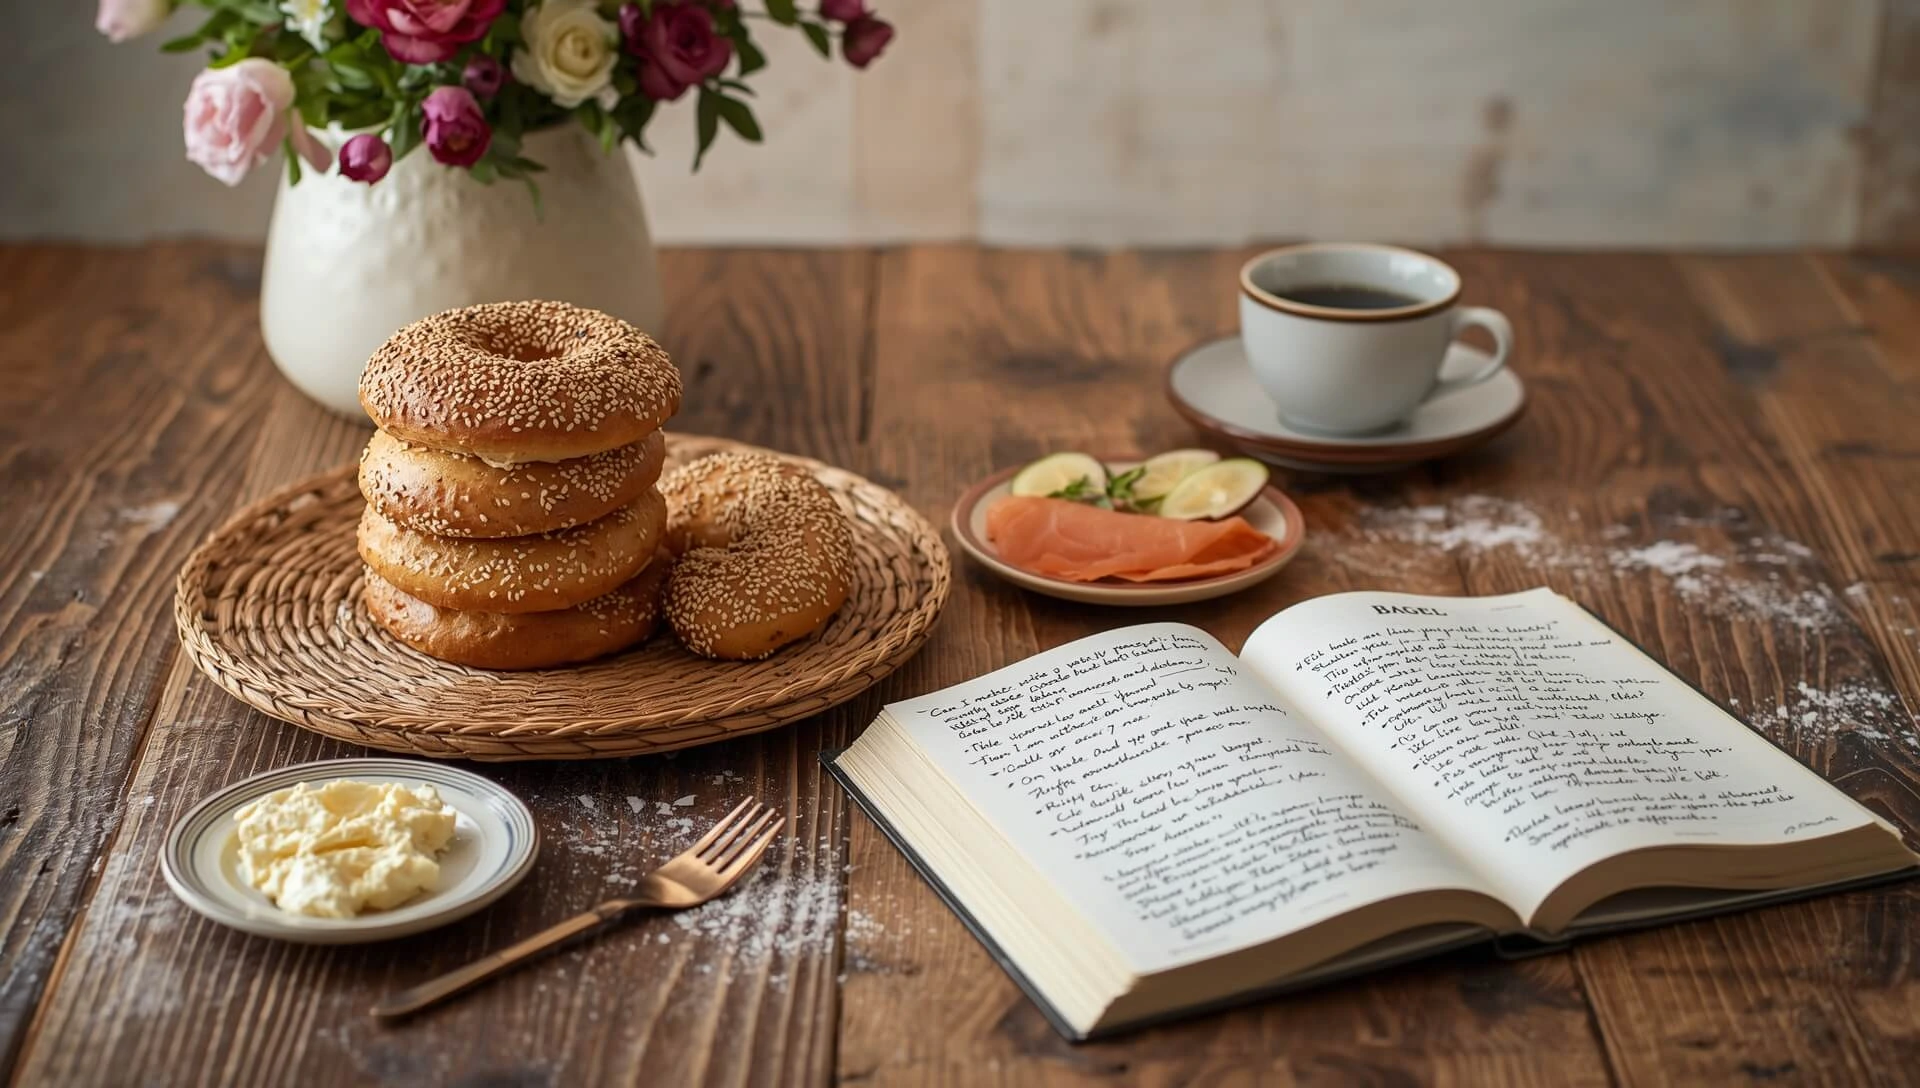
Answers to common bagel questions
Whether you’re a beginner or an experienced baker, making homemade bagels raises some common questions. Here’s everything you need to know to ensure your bagels turn out perfectly every time.
1. Can I Make Bagels Without a Stand Mixer?
Yes! You don’t need a stand mixer to make chewy, delicious bagels.
Knead the dough by hand for 10–15 minutes on a lightly floured surface.
Use the push, fold, and turn method to develop gluten.
The dough should become smooth, elastic, and slightly tacky.
💡 Pro Tip: Hand-kneading can be a bit of a workout, but it gives you great control over the dough’s texture and helps you feel when it’s properly kneaded.
2. Can I Freeze Homemade Bagels?
Absolutely! Freezing is a great way to enjoy fresh bagels later.
Make sure the bagels are fully cooled after baking.
Place them in airtight freezer bags, squeezing out excess air.
Frozen bagels last up to 3 months.
💡 Pro Tip: To enjoy later, toast them straight from the freezer or thaw at room temperature for 15–20 minutes.
3. What’s the Difference Between New York and Montreal Bagels?
New York Bagels: Larger, denser, and chewier; boiled briefly and baked in a conventional oven.
Montreal Bagels: Smaller, slightly sweeter, often boiled in honey water, and baked in a wood-fired oven.
💡 Pro Tip: If you want that classic chewy New York texture, stick to high-gluten bread flour, a water bath, and a longer baking time.
4. How Long Do Bagels Last?
Room Temperature: 1–2 days in an airtight container.
Refrigerated: Up to 5–7 days, but the texture may firm up.
Frozen: Up to 3 months for long-term storage.
💡 Pro Tip: To refresh slightly stale bagels, sprinkle them with a bit of water and toast or reheat in the oven for 3–5 minutes.
Bread Flour vs All-Purpose Flour:
Link to an authoritative baking source explaining flour types:
King Arthur Baking – Bread Flour vs. All-Purpose Flour
Comment (1)